Making the Detail Drawings of Parts From Sketches
Unlike sketches the detail drawingsof parts are done in a scale with the exact observance of sizes with the help of drawings instruments.
To make the detail drawingsit is necessary:
· to analyze preliminary the sketch of a part, in accordance with State Standard 2.302-68 choose the scale of a view and a drawing format ;
· to draw a frame and title block on a format;
· to make the final chart of arrangement of drawing, i.e. to mark the places of basic and additional depictions;
· to draw the axes of symmetry, central lines, to draw the contours of depictions, to draw sectional views, sections, to draw extension and dimension lines;
· to check up the drawing and remove unnecessary lines, to outline a visible contour by a continuous thick mainline, to hatch sectional views and sections;
· to mark sizes and signs of roughness of surface, to fill title block and technical requirements.
Example of the sketch of the part «Captive Nut» is shown in fig.6.5, and its detail drawing is shownin fig.6.6.
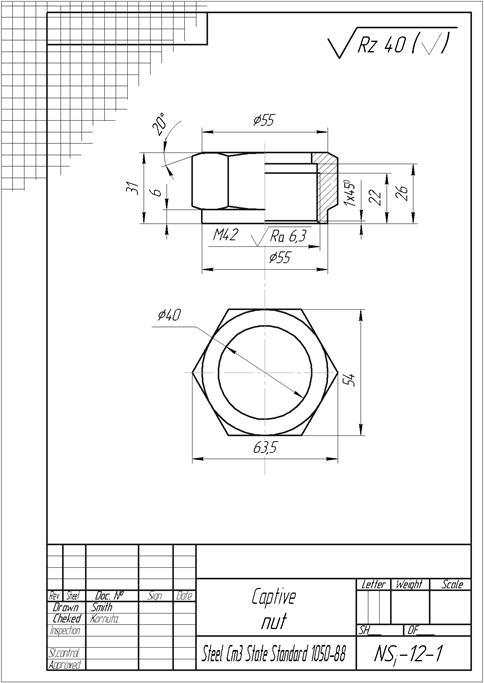
Figure.6.5 – The sketch of the part «Captive Nut»
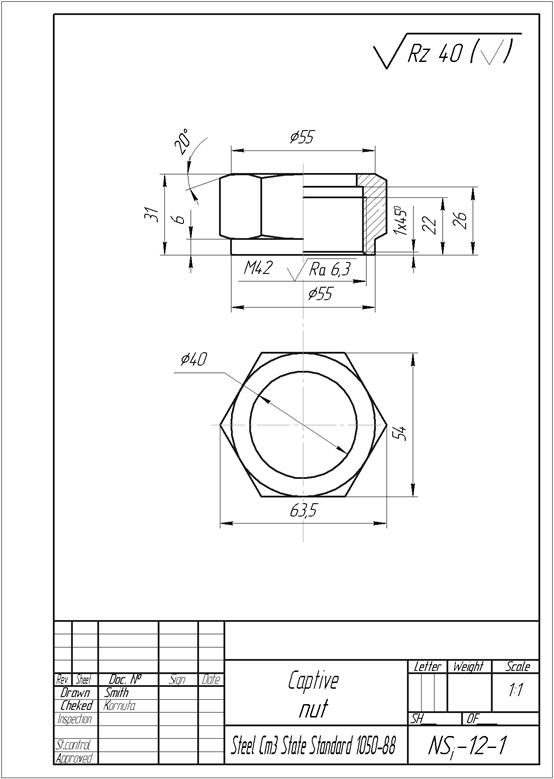
Fig.6.6 – The detail drawing of the part «Captive Nut»
QuestionS for SELFcheck
1. What is detail drawing of a part?
2. What is asketch?
3. What is the basic requirements to the detail drawings and sketches?
4. What steps should be followed to make sketches?
5. Denotation roughness of surfaces of the parts.
Assembly Drawings
Assembly drawing shows how the components or parts must be assembled to form the complete machine or device. The assembly drawing shows the different parts in their relative positions. An assembly drawing furnishes the following information:
a) One main view to show the best assembly.
b) Selected overall dimensions and important centre to centre distance.
c) Identification of different parts on assembly drawing.
d) Necessary sectional views.
e) Part list, notes, titles, etc.
An assembly drawing is a document, which contains the representation of assembly unit and other information, necessary for its assembly and control. An assembly drawing must give the complete information about an article construction, interaction of parts, that belong to it, and there is a technical document during implementation of assembly operation and acceptance of an article.
An assembly drawing must contain:
А) representation of an assembly unit, which gives an idea of placing and interconnection of its separate parts;
B) sizes and other parameters and requirements, which are carried out and controlled in the process of an assembly of an article, pointing about the method of connection of parts of an article;
C) part number of component parts of an article;
D) basic descriptions of an article;
E) overall, setting dimension, conjunctive and reference dimensions (fig.7.1).
Дата добавления: 2016-07-18; просмотров: 1676;

